
Wall art plays a crucial role in defining the ambiance and character of a living space. It adds personality, style, and visual interest to walls, transforming them into focal points of a room. While purchasing artwork from galleries or home decor stores is one option, creating your DIY wall art offers a unique opportunity for self-expression and creativity. This article’ll explore the DIY wall art world, from its benefits and materials to inspiring ideas and practical tips for creating and displaying your masterpieces.
Benefits of DIY Wall Art
Personalization
One of the most significant advantages of DIY wall art is the ability to personalize your space according to your taste and preferences. Creating your own artwork can tailor the design, colors, and themes to complement your existing decor and reflect your personality.
Cost-effectiveness
DIY wall art projects are often more budget-friendly than purchasing ready-made pieces. Creativity and resourcefulness allow you to repurpose everyday materials or find affordable supplies to create stunning artwork without breaking the bank.
Creative expression
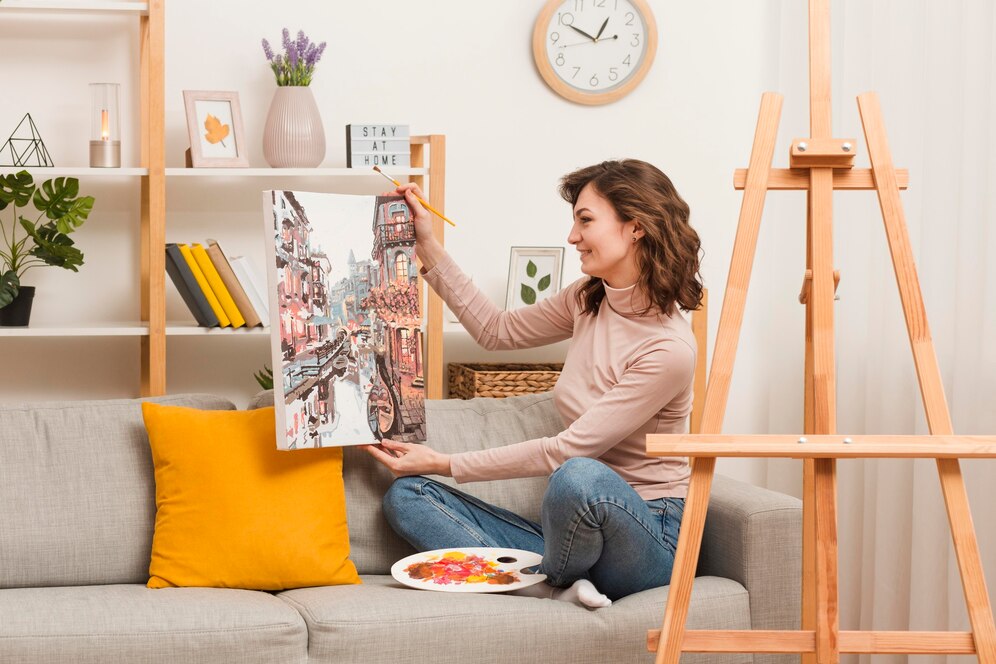
DIY wall art lets you unleash your creativity and experiment with various techniques and mediums. Whether painting, sculpting, or crafting, making art can be therapeutic and fulfilling, offering a creative outlet for self-expression.
Materials Needed for DIY Wall Art
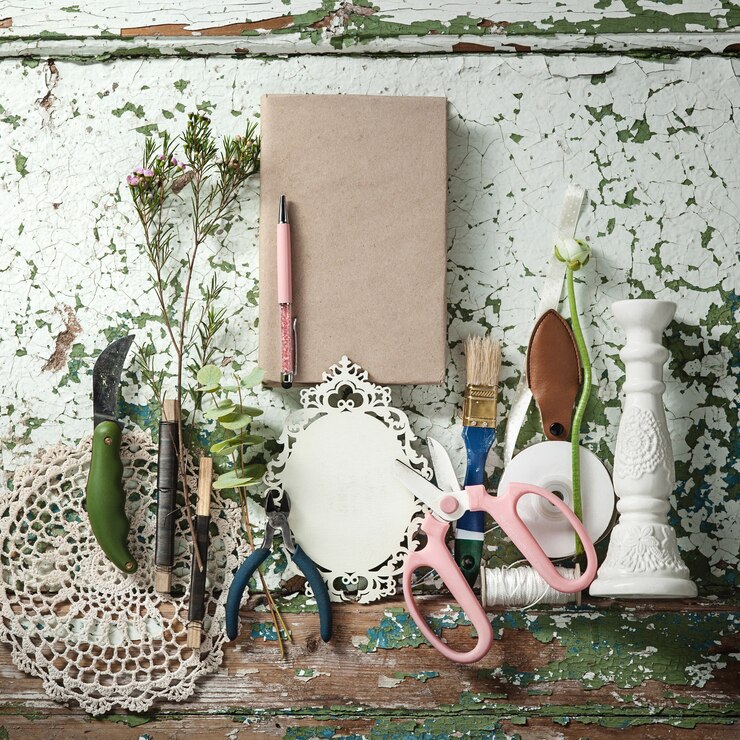
Basic supplies
- Canvas or wood panels
- Paintbrushes
- Acrylic or watercolor paints
- Drawing materials (pencils, markers, charcoal)
- Adhesives (glue, tape)
- Scissors or craft knife
Optional embellishments
- Stencils or stamps
- Decorative papers or fabrics
- Embossing powders
- Beads or sequins
- Found objects (shells, branches, buttons)
Inspiration for DIY Wall Art
Nature-inspired designs
Draw inspiration from the beauty of nature by creating botanical or landscape-themed artwork. Experiment with floral patterns, leaf prints, or ocean-inspired motifs to bring a touch of the outdoors into your home.
Abstract art techniques
Explore the world of abstract art and experiment with bold colors, shapes, and textures. Use drip painting, splatter art, or geometric patterns to create eye-catching and contemporary pieces.
Upcycling projects
Get creative with upcycling by repurposing old materials or household items into unique works of art. Turn salvaged wood into rustic wall hangings, transform vintage fabrics into textile art, or create a mosaic masterpiece using broken ceramics or glass.
Step-by-Step Guide to Creating DIY Wall Art
Preparing the workspace
Set up a clean and well-lit area where you can work comfortably without distractions. Cover surfaces to protect them from paint or glue spills, and gather all necessary tools and materials.
Choosing a design or concept
Consider the style and theme of your home decor when selecting a design for your DIY wall art. Browse online galleries, magazines, or Pinterest for inspiration, or draw inspiration from your imagination.
Gathering materials
Once you’ve chosen a design, gather the materials to bring your vision to life. Visit your local craft store or repurpose items from around your home to find the necessary supplies.
Creating the artwork
Follow your chosen design or concept, and let your creativity flow as you paint, draw, or sculpt your DIY wall art. Experiment with different techniques and mediums to achieve the desired effect.
Adding finishing touches
Once your artwork is complete, please assess it for any final touches or embellishments. Add details, textures, or accents to enhance the piece’s overall appearance and visual appeal.
Displaying Your DIY Wall Art
Placement tips
Consider your DIY wall art’s size, shape, and color when determining where to display it in your home. Choose a focal point or empty wall to allow the artwork to shine and complement the surrounding decor.
Hanging methods
Use appropriate hardware or hanging systems to mount your DIY wall art on the wall securely. Consider using picture hooks, wire, or adhesive strips, depending on the weight and size of the artwork.
Grouping artwork
Create visual interest and impact by arranging multiple pieces of DIY wall art together in a gallery wall display. Experiment with different layouts and spacing to find a composition that suits your space.
Maintenance and Care Tips
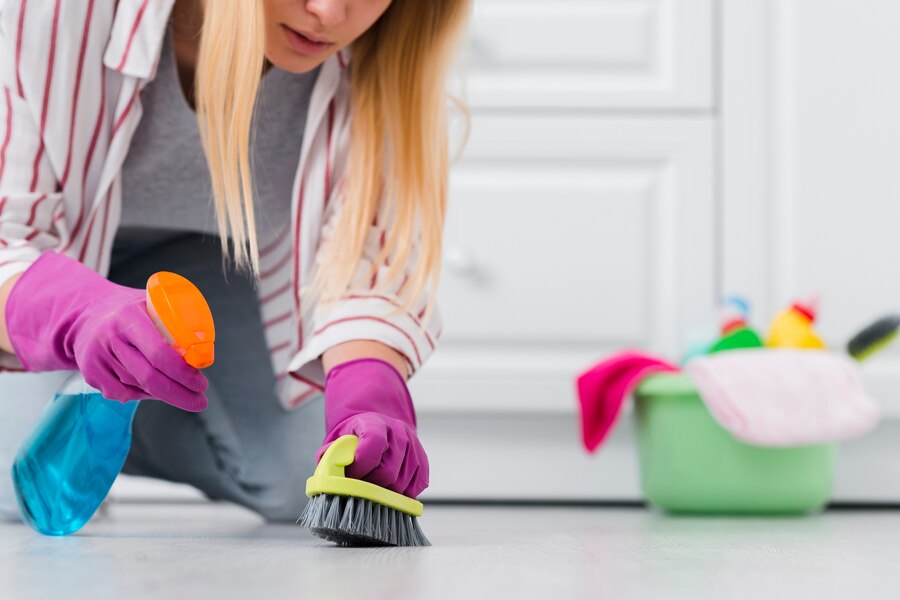
Dusting and cleaning
Regularly dust your wall art with a soft, dry cloth to remove dirt or debris. Avoid harsh cleaning agents or abrasive materials that may damage the artwork’s surface.
Storage suggestions
If you need to store your wall art temporarily or during a move, protect it from dust, moisture, and sunlight by wrapping it in acid-free paper or bubble wrap and storing it in a clean, dry place.
Conclusion
Embrace your creativity and elevate your home decor with wall art projects. Whether you’re a seasoned artist or a novice crafter, there’s endless potential for creating unique and meaningful artwork that reflects your style and personality. From nature-inspired designs to abstract masterpieces, let your imagination soar and transform your walls into expressions of art and beauty.
FAQs
How do I choose the right design for my DIY wall art?
Consider your style, existing decor, and the ambiance you want to create in your space. Experiment with different themes, colors, and techniques until you find a design that resonates.
Are DIY wall art projects suitable for beginners?
Yes, DIY art projects suit crafters of all skill levels. Start with simple techniques and gradually explore more complex methods as you gain confidence and experience.
Can I use recycled materials for DIY art?
Absolutely! Upcycling materials such as old wood, fabric scraps, or discarded objects can add character and sustainability to your artwork while reducing waste.
How do I ensure my DIY wall art stays secure on the wall?
Choose appropriate hanging hardware and follow installation instructions carefully to ensure your artwork remains securely mounted. Consider the weight and size of the artwork when selecting.


